We have made a lot of slime in this household. We have used numerous recipes but we have always done it in fun, not looking at the science behind it. Now we are looking to create our own slime science fair project.

This post contains affiliate links, see my disclosure policy for more information.
Slime Science Fair Project
Add a little school the next time you make slime. It doesn’t have to take the fun out of making, it just means you can cross science off today’s list.
It is time to compare all our different slime recipes. Which one works best?
Using the scientific method, your students are well on their way to discovering the scientific wonders of slime.
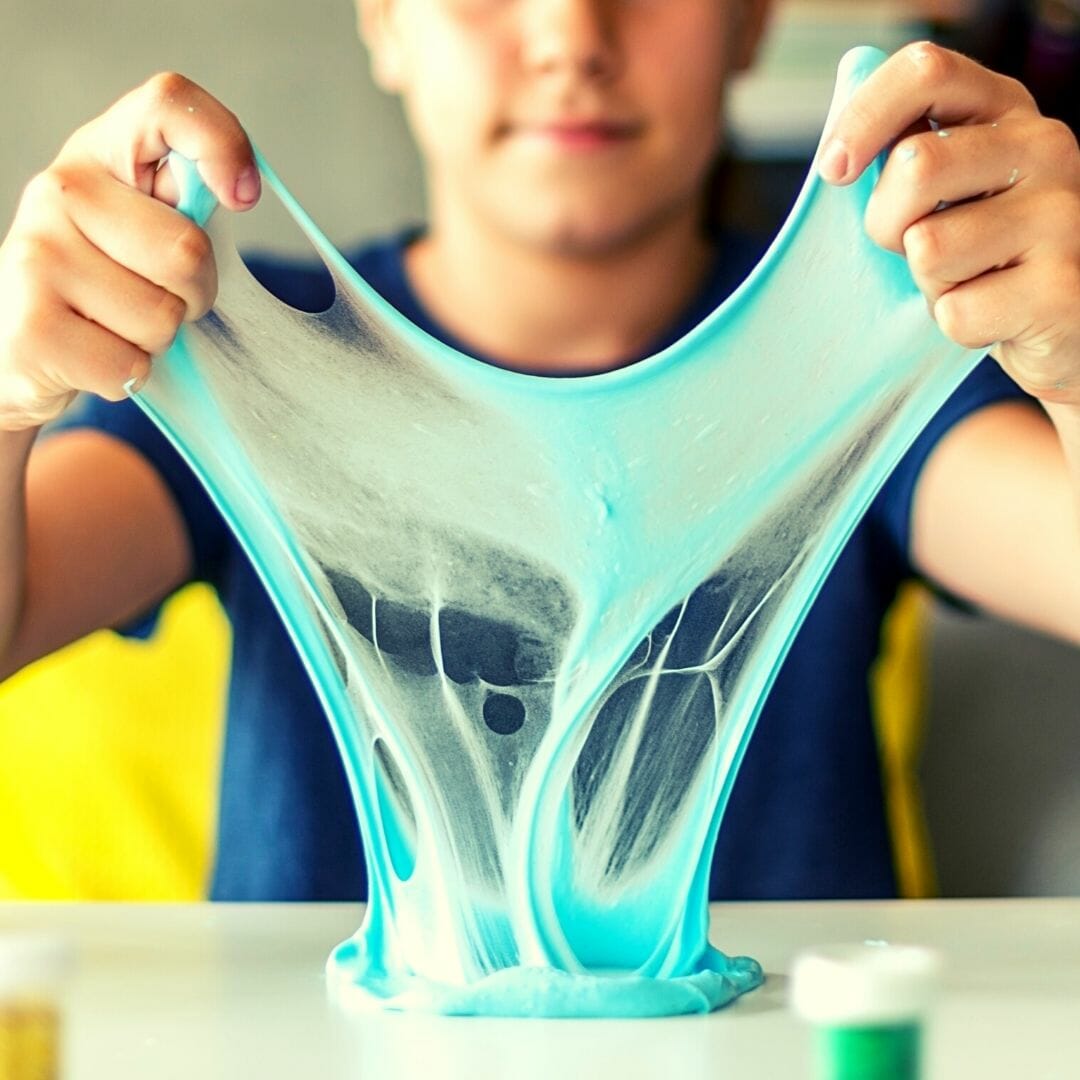
slime is chemistry in motion. Chemistry explains states of matter such as liquid, solid, and gas, and it also explains how these states of matter react under different conditions, especially the formation of new substances.
Slime is an endothermic reaction, meaning it absorbs heat (energy) rather than giving it off. This explains why slime gets colder over time. Then, depending on the recipe you use, certain ingredients change the molecular makeup, also known as cross-linking. Your student can use the scientific method to test which slime recipes and ingredients cause which chemical reactions.
Other chemistry concepts that making slime involves are:
- Mixtures
- Chemical reactions
- Substances
- Polymers
- Cross-linking
- States of matter
- Elasticity
- Viscosity
Slime is a fascinating substance that makes science for kids fun and engaging. It’s a simple science activity that contains some fascinating science.
The Science of Slime
We like to compare things. Everything, in fact, in junior high a friend and I compared numerous brands of paper towels to win at the science fair. Yay us! So we compare things here in our homeschool as well. Like comparing different slime recipes.
You can teach your children why glue stays liquid (because it is a polymer made up of identical long strand molecules, called monomers) until a borate ion ingredient is added to the mixture (connecting the long strand molecules together).
Throughout the mixing process, these ingredients begin to form a thick, rubbery type substance, eventually becoming slime.
Easy Slime Recipes
Use these easy slime recipes and experiment with the elements of slime. Make sure you take good notes so you can use what you learn in your next science project! Consider testing out multiple recipes, or perhaps multiple variants of the same recipe, during your science project and see what happens when you combine different ingredients.
For example, in the borax slime recipe, what happens if you add less borax? Or more? How much borax would you need to add to turn your slime into a rubber ball? There are so many questions and possibilities to discover!
Contact Solution Slime Recipe
Use this contact solution slime recipe and compare it to your own normal slime recipe, or a borax slime recipe, which is what we typically use.
Materials
- Bottle of Elmer’s Glitter Glue (6 oz.)
- 1.5 teaspoons (7.5 ml) baking soda
- 1.5 teaspoons (7.5 ml)saline solution (contact solution) with Boric Acid or Sodium Borate in the ingredients
Tools
- Spoon or spatula
- Mixing bowl
Instructions
- Empty the bottle of glitter glue into a mixing bowl
- Stir in the baking soda. Mix well.
- Add contact solution and mix until slime forms. You’ll notice it comes together immediately and takes a few minutes to fully form.
- Knead the slime with your hands to get it to a consistency you’re happy with.
Slime
What kid doesn't like to get messy and play with homemade slime? This recipe is easy to make and never fails! Just try it and see.
Materials
- 1 cup water
- 1 tsp borax
- 1/2 cup glue
- 1/2 cup water
- food coloring - optional
- glitter -optional
Tools
- a bowl
- measuring cup
Instructions
- Using warm water, mix together one cup of water, and the 1 tsp of borax.
- Mix so that the borax dissolves.
- Mix together your half cup of water, and your half cup of glue together. If you are using food color now is the time to do so. If you use clear glue, it is going to be really nice. You can also add in glitter too!
- Mix the two together. I wish I could have gotten a picture of the glue mixing with the borax/water solution as I poured the glue in. A quick stir and you have slime! It really takes next to no stirring for this part.
Notes
There was still water left in the cup after mixing the two together, so don't worry if you have left-over water.
On that note, feel free to grab the science fair project planner. Perfect for slime science fair projects or other at-home science experiments.