When I was in junior high school, the thing everyone was making and wearing was toothbrush bracelets. I didn’t think to buy some cheap toothbrushes to do those as well with my kids, but I wish I had. Maybe in the future. But, we did make craft stick bracelets as I mention as a craft during our DIY Summer Camp series.
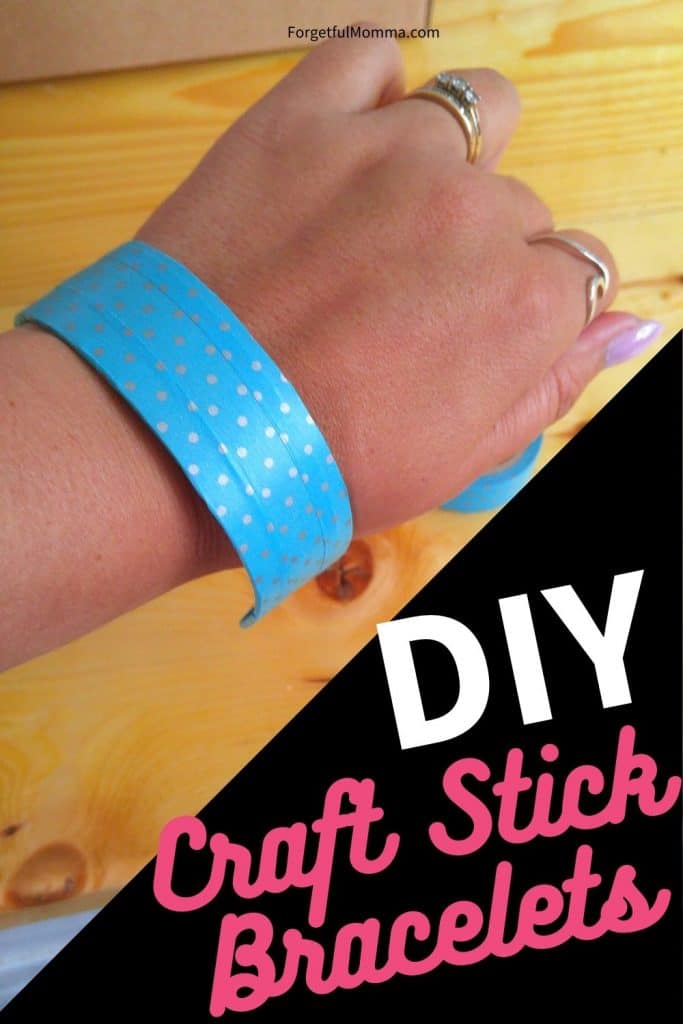
Craft Stick Bracelets Craft
This post contains affiliate links, see my disclosure policy for more information.
You can find more fun crafts to do with your kids in our Backyard Summer Camp: Craft Theme. Have some fun at home with your kids this summer as we all try to find a new normal.
- a pot of water – boiling
- jumbo craft sticks
- drinking glasses
- washi tape, markers, other crafts supplies
How to make Craft Stick Bracelets
You need a pot, large enough for your craft sticks to fit in it.
Make use you have use more crafts sticks than you want to use for bracelets, you may have some break later on.
You need to boil your sticks for 30 minutes. And then, you are going to let them sit in the hot water for another 15 minutes.
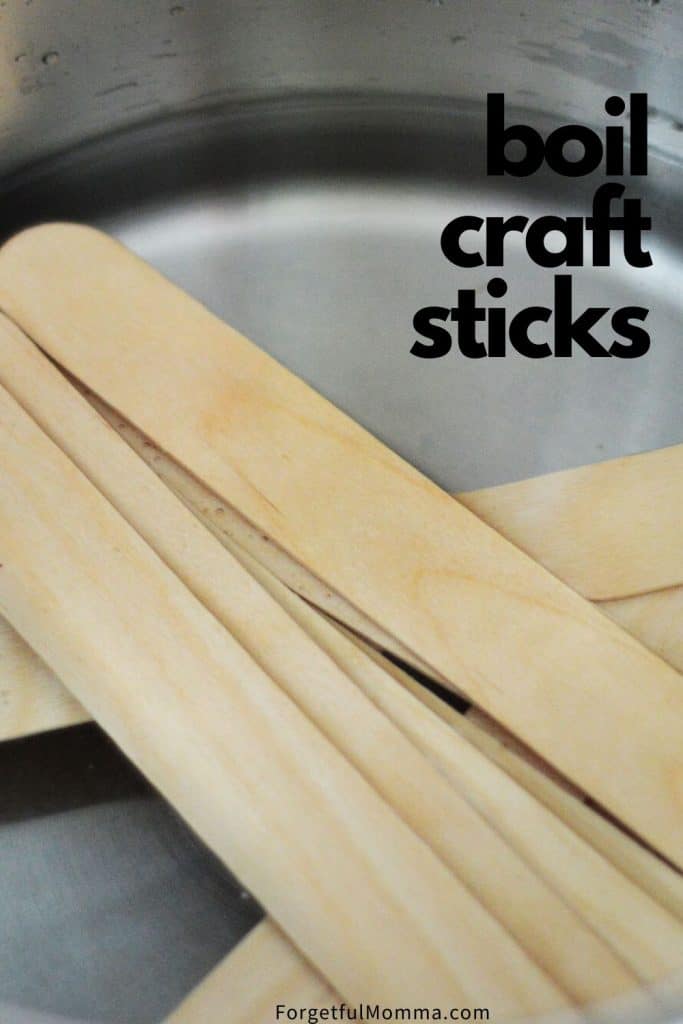
Leave the sticks in the water as you do this next part, only taking them out one at a time. Use tongs to remove them from the hot water.
The craft sticks are not hot, I easily handled them with my bare hands. I bend them in a circle, molding them inside of a drinking glass.
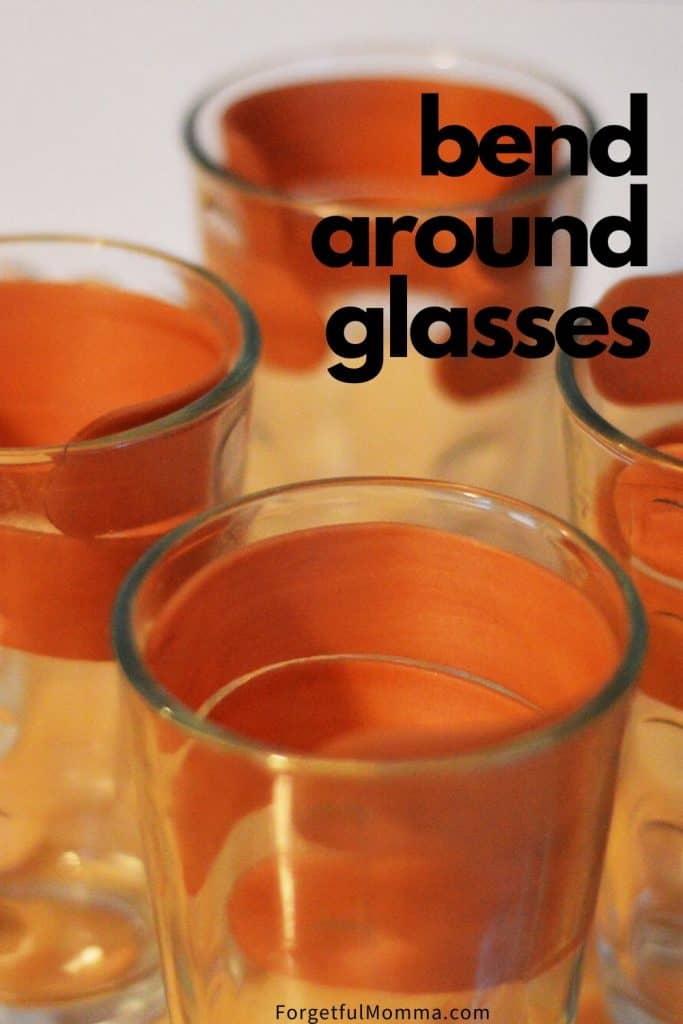
This is where having extras comes in handy, I had one snap as I bent it. And after they dried I noticed one of the ends had split a little bit.
These are going to take a while to dry. Now, I read a number of different posts from Pinterest on how to make these and they all said they would be dry overnight. Ours were not. I was mad, and all I could think was, “I spent an hour doing this for nothing?!”.
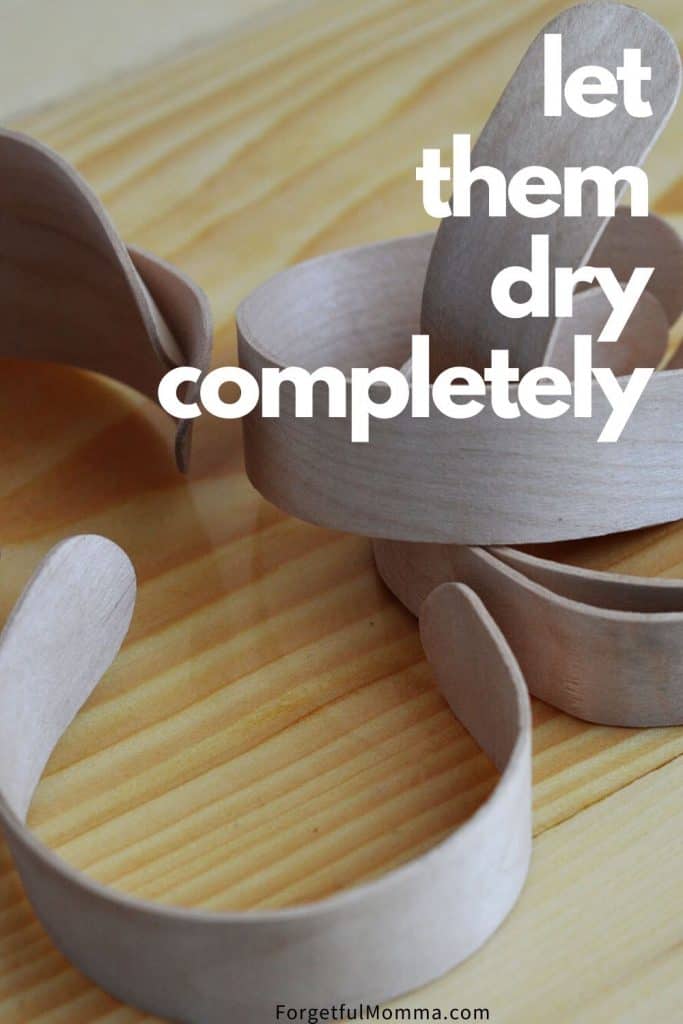
I left them in the glasses even after thinking that because I was mad. BUT it didn’t occur to me until later that we have high humidity here. It can take things later to dry. By the afternoon they were hard. Time not wasted after all.
So, if they do not dry overnight, give them more time. Do not get cranky like me.
Decorate Your Craft Stick Bracelets
Now, you and your kids get to decorate them, this is the fun part.
Markers will run along the grain of the wood. Just, you know, a heads up.
The ways you can decorate these are endless. You can take another jumbo craft stick, trace it on cardstock and then use mod podge to “glue” it on, and then add another coat to keep it on and to give it some shine. You could also do this with a photo. I think that could be very special and fun for some best friends to do together.
Use can use washi tape to decorate them as well, whether you use a long piece over the front of your bracelet or wrap different tapes of tape around it.
Each craft stick bracelet is going to be unique and speical.
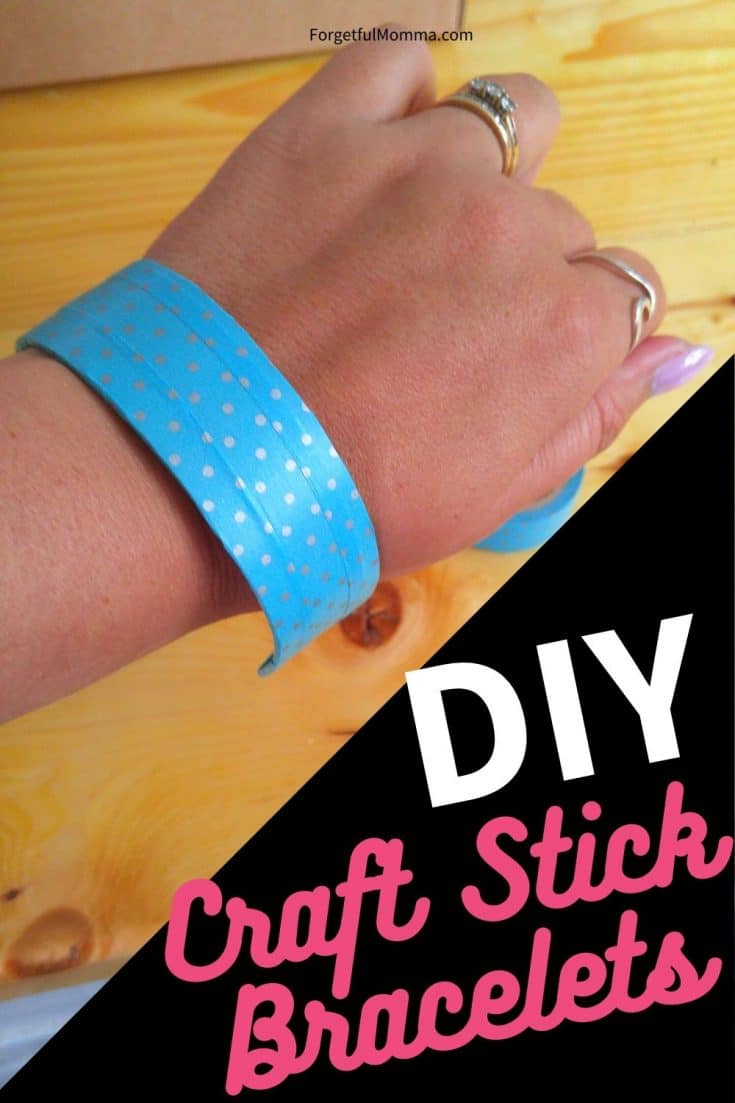
Craft Stick Bracelets
A fun way to make unique bracelets with your kids.
Materials
- a pot of water - boiling
- jumbo craft sticks
- washi tape, markers, other crafts supplies
Tools
- drinking glasses
- large pot
Instructions
- You need a pot, large enough for your craft sticks to fit in it.
- Make use you have use more crafts sticks than you want to use for bracelets, you may have some break later on.
- You need to boil your sticks for 30 minutes. And then, you are going to let them sit in the hot water for another 15 minutes.
- Leave the sticks in the water as you do this next part, only taking them out one at a time. Use tongs to remove them from the hot water.
- The craft sticks are not hot, I easily handled them with my bare hands. I bend them in a circle, molding them inside of a drinking glass.
- These are going to need to dry for at the very least, 12 hours. Mine took longer due to out humidity.
- Remove from the glasses, and decorate.
Recommended Products for this Craft:


DIY Bath Bombs without Citric Acid
