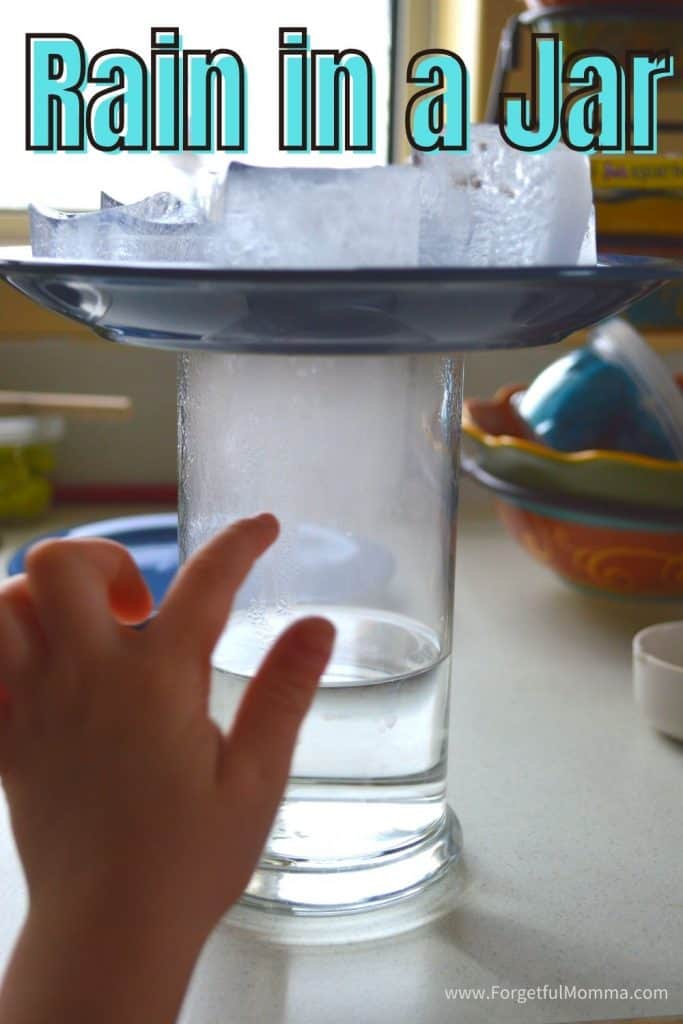
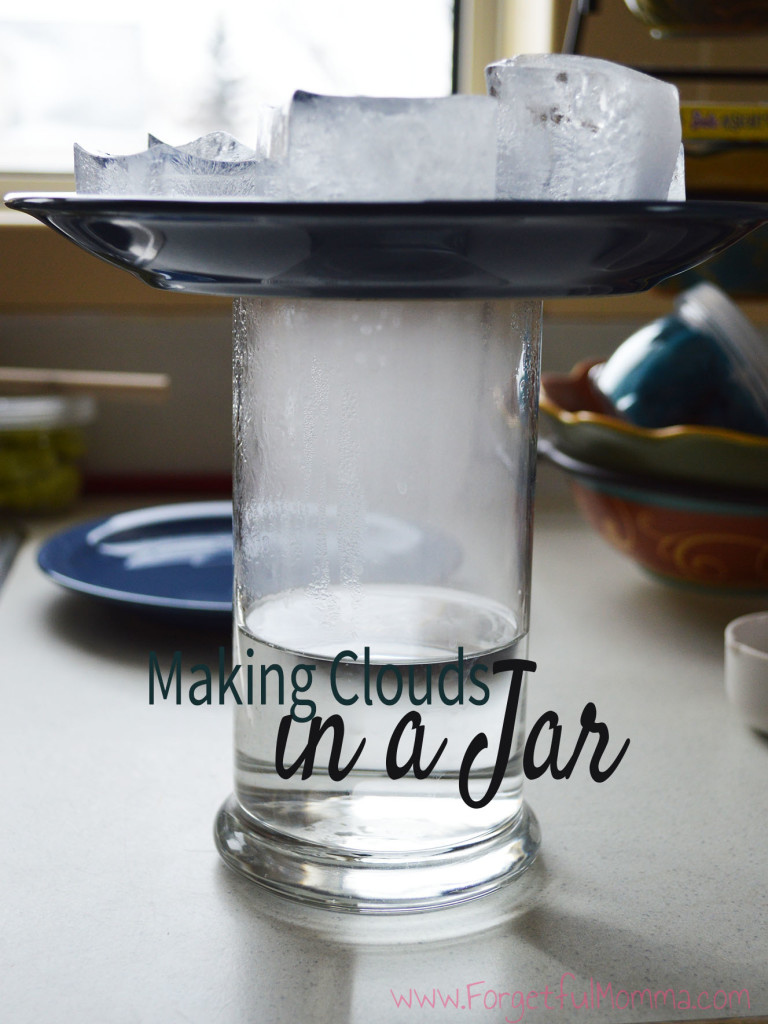
Over the weekend Austin asked a question about space after looking through a book on our bookshelf. We hit YouTube to watch a few great videos. But in true curiosity form of a child, one question lead to another, and the next thing I knew we were making rain in a jar.

Making Rain in a Jar
*This post may contain affiliate links. You can learn more about them in my disclosure policy.*
This is really simple to do. Kids get a kick out of it. It’s something that you can do any day without a lot of prep beforehand as long as you have ice cubes in the freezer. I rarely have ice cubes in the freezer so it does take some prep for us.
Unlike making a cloud in a jar, you don’t need anything special. Just water, a plate and a jar.
How to make it Rain in A Jar:
- boiling water
- ice cubes
- a plate
- a jar
What you need to do:
You need a jar. Some hot (boiling works best) water, a plate that will fit snug on top of your jar, and some ice cubes.
Put your ice cubes on the plate. About 4 or so. We used large whiskey ice cubes.
Fill your jar about a third of the way up with hot water.
Quickly put your plate on top of the jar.

What’s happening:
The cold plate causes the moisture in the warm air, which is inside the jar to condense and form water droplets. This is the same thing that happens in the atmosphere.
Warm, moist air rises and meets colder air high in the atmosphere. The water vapor condenses and forms precipitation that falls to the ground.

Rain in A Jar
Recreate rain in a rain, in your kitchen for a fun weather relate science experiment.
Materials
- hot water
- ice cubes
Tools
- a jar
- a plate to fit over your jar
Instructions
- Fill your plate with ice cubes.
- Fill your jar about a third of the way up with hot water.
- Quickly put your plate on top of the jar.
- Watch what happens.
Similar Posts that you May Be Interested in:
Temperature and Water Density Science Experiment

