Art is a great way to spend time together. It is a great way to spend a rainy day. Why not teach your children about an artist while they create something. This is where this Kandinsky painting comes in. Each child creates their own piece of art using the same technique.
This post contains affiliate links, see my disclosure policy for more information.
For Kandinsky, color meant more than just a visual component of a picture. Colour is its soul. In his books, he described his own perspective on how colors interacted with each other and with the spectator in detail and very poetically. Moreover, Kandinsky was a synaesthete, i.e. he could ‘hear colors’ and ‘see sounds.’
What You Need:
- a large piece of white paper
- watercolor paints
- paintbrushes
- pencil
- water container
- a 4-inch diameter object to trace
- a ruler or other straight edge
How to Recreate Your Own Kandinsky Painting
Show your children this painting to give them an idea of the type of painting that you are going to be doing.
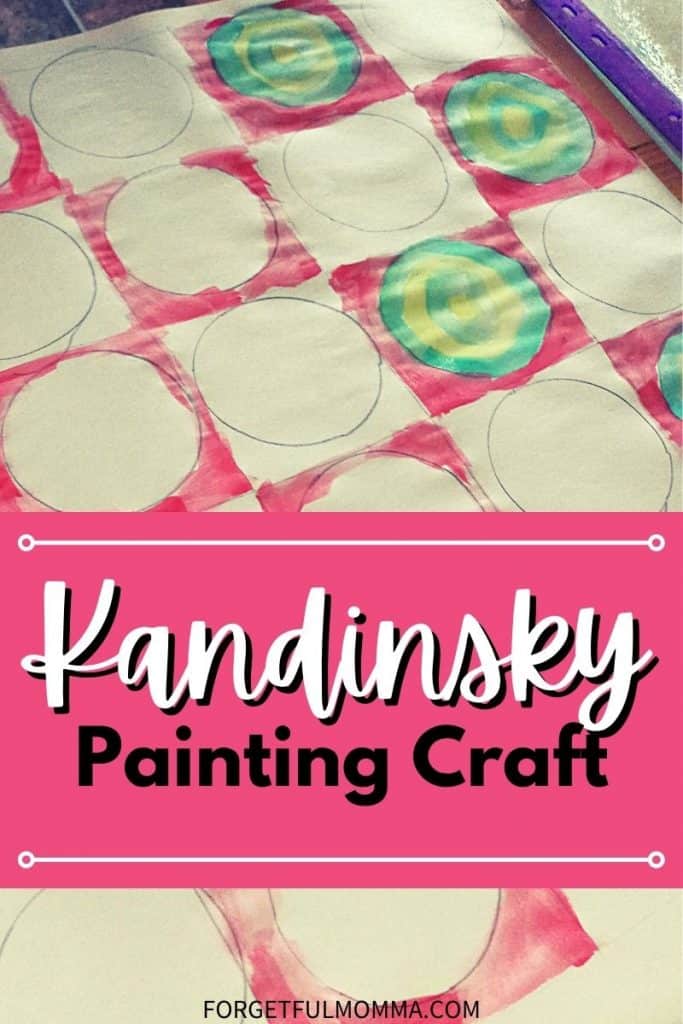
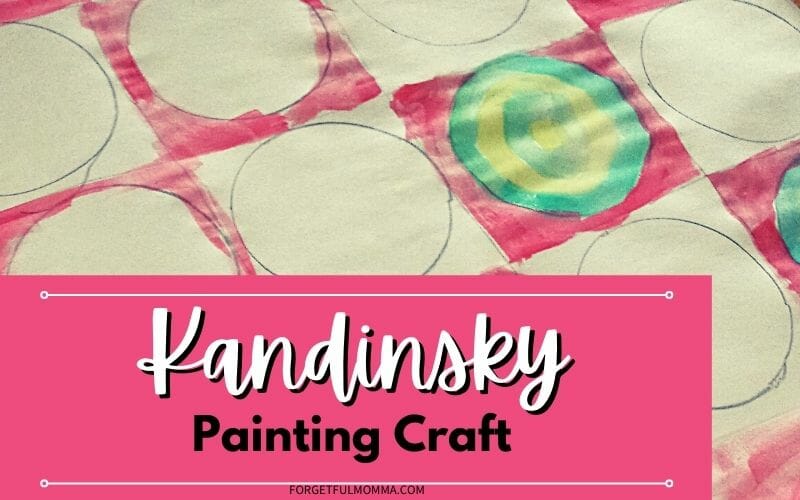
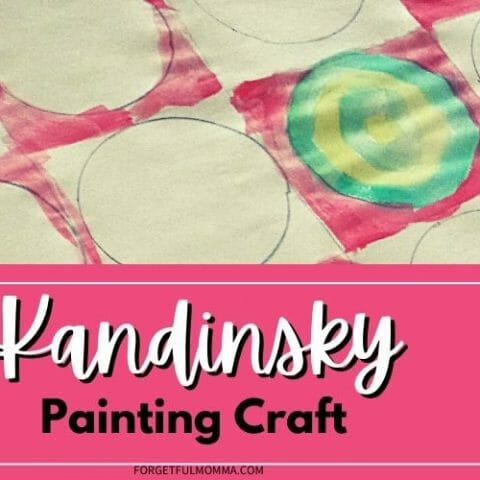
You are going to create a grid of circles for this project, using a pencil first before you break out the paint.

Trace one circle on top of another circle, continuing up the length of your paper. Repeat this to create a second and third column, or as many as your paper will allow for.
Now you are going to use your ruler to draw a grid among your circles. The finished product will end with each circle being in its own square.
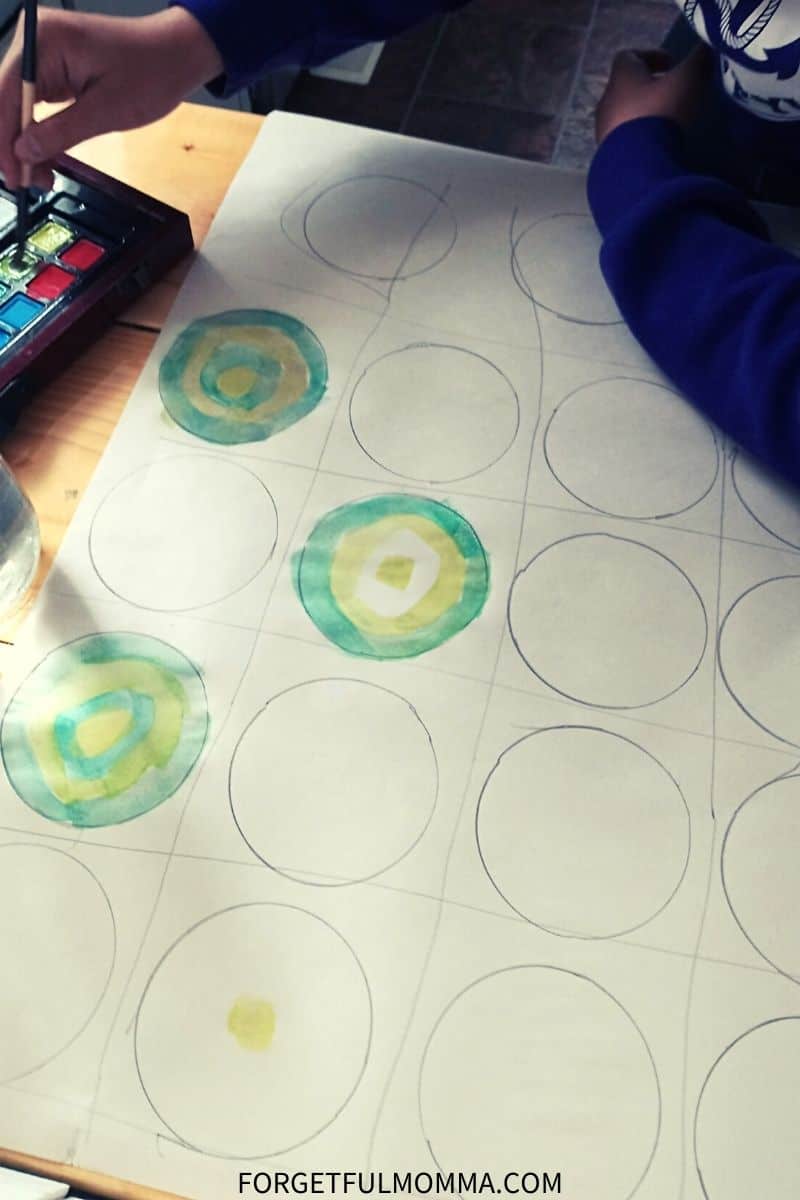
Now is where you and your kids get creative freedom. Painting the background a different color of the circle. And paint multiple circles within your penciled-in circle. Try to use different colors so that the same ones aren’t touching.
Kandinsky Painting Craft
Materials
- a large piece of white paper
- watercolor paints
- paintbrushes
- pencil
Tools
- water container
- a 4-inch diameter object to trace
- a ruler or other straight edge
Instructions
- Show your children this painting to give them an idea of the type of painting that you are going to be doing.
- You are going to create a grid of circles for this project, using a pencil first before you break out the paint.
- Trace one circle on top of another circle, continuing up the length of your paper. Repeat this to create a second and third column, or as many as your paper will allow for.
- Now you are going to use your ruler to draw a grid among your circles. The finished product will end with each circle being in its own square.
- Now is where you and your kids get creative freedom. Painting the background a different color of the circle. And paint multiple circles within your penciled-in circle. Try to use different colors so that the same ones aren't touching.