Homeschooling offers more than just flexibility. It’s a lifestyle that allows families to turn everyday moments into lasting lessons. From science experiments on the kitchen counter to reading sessions on the porch, these moments hold immense value not just educationally, but emotionally.
However, in the midst of juggling subjects, housework, and the occasional sibling squabble, it’s easy to let those lightbulb moments slip by undocumented. That’s where simple tools can turn chaos into a meaningful, shareable homeschool experience.
That said, let’s explore how families can preserve their learning journeys while fostering creativity and independence.
Why Documenting Homeschool Learning Matters
In traditional school settings, report cards, class projects, and parent-teacher conferences leave a paper trail of progress. In homeschool, that responsibility falls on the parent.
Creating visual documentation, like photos, videos, or time-lapse recordings, offers several benefits:
- Progress tracking: You can visibly chart growth in your child’s handwriting, art skills, or confidence in presentations.
- Portfolio creation: Visual records are useful for homeschool evaluations, co-op submissions, or end-of-year reviews.
- Family memories: You’re not just teaching math—you’re building stories. These are moments you’ll want to revisit years down the line.
- Creative ownership: Involving your child in documenting lessons promotes responsibility, presentation skills, and even media literacy.
Setting Up a Functional Learning & Recording Space
You don’t need a fancy studio. A bright, clutter-free corner of your home can serve as a dynamic learning and filming zone. Here’s how to keep it practical:
- Natural light: A spot near a large window provides soft, even lighting—ideal for clear visuals.
- Background simplicity: Keep distractions minimal. A plain wall or neutral backdrop works best for videos and photos.
- Eye-level framing: Mount your camera or phone so it’s level with your child for more engaging footage.
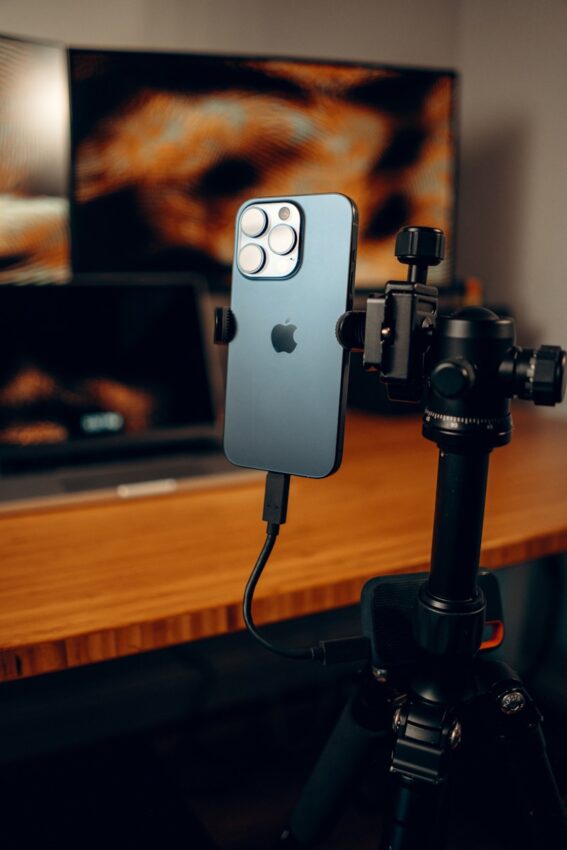
A camera stand becomes incredibly useful here. Whether you’re filming a baking soda volcano or a book reading, a stand keeps the frame steady and hands-free. It is especially helpful for parents who are also teaching or managing other kids.
For durable, reliable options, brand like Adorama offers a wide selection of professional-grade stands that are compatible with DSLRs, smartphones, and video equipment. It’s a simple investment that can elevate both learning and documentation quality.
Creative Ways to Use Visual Tools in Homeschooling
Using the proper tools is a gateway to turning your homeschool routine into a hands-on multimedia project. Here’s how to make the most of it:
1. Record Science Experiments
Capture time-lapse videos of slow processes, such as plant growth or crystal formation. Set the camera on a stand and let it run. Your child can even narrate the process later to practice summarization and storytelling.
2. Create Instructional Videos
Have your child explain a math problem or demonstrate a DIY craft. These clips can be shared with co-ops, distant relatives, or even saved for reflection. This also helps develop public speaking and presentation skills.
3. Build a Digital Portfolio
Photograph artwork, projects, or reading logs. Using a stand helps ensure even lighting, sharp focus, and consistent framing. It’s a great way to archive work for records or showcase your child’s achievements.
4. Encourage Independent Learning
Teach your child how to use the camera gear. Show them how to set angles, use a timer, or press record. This autonomy turns documentation into a creative assignment in itself—one that involves tech literacy and responsibility.
From Schoolroom to Living Room: Extend the Benefits
One of the best parts of investing in these simple tools is their versatility beyond lessons. Your accessories will earn their keep in other areas, too:
- Family projects: Record cooking sessions, nature walks, or art time.
- Events: Use them to capture birthdays, science fairs, or holiday performances.
- Storytelling: Encourage your kids to create short films, puppet shows, or “news reports” based on what they’re learning.
Over time, this practice helps build not just a portfolio—but a family media archive full of meaningful moments.
Quick Tips for Practical Use
- Keep it accessible: Store your gear near your homeschool area so it’s easy to grab and use.
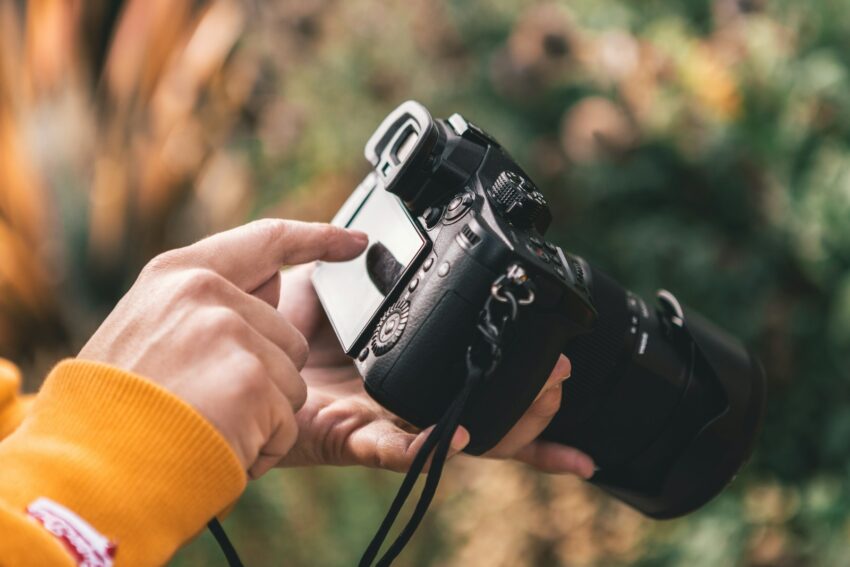
- Use multi-device mounts: Most modern camera stands accommodate both phones and cameras, making them ideal for switching between casual and high-quality filming.
- Add lighting when needed: If natural light isn’t an option, consider affordable ring lights or softboxes for balanced indoor illumination.
- Back up your footage: Use cloud storage or an external drive to preserve your growing collection.
Final Thoughts
Homeschooling is about more than academics—it’s about building memories, routines, and resilience. By incorporating simple tools into your daily rhythm, you can elevate your lessons from routine to remarkable.
Whether you’re capturing science experiments or documenting writing milestones, these tools support clarity, creativity, and consistency. And when your kids look back years from now, they won’t just remember what they learned but how it felt to learn together.