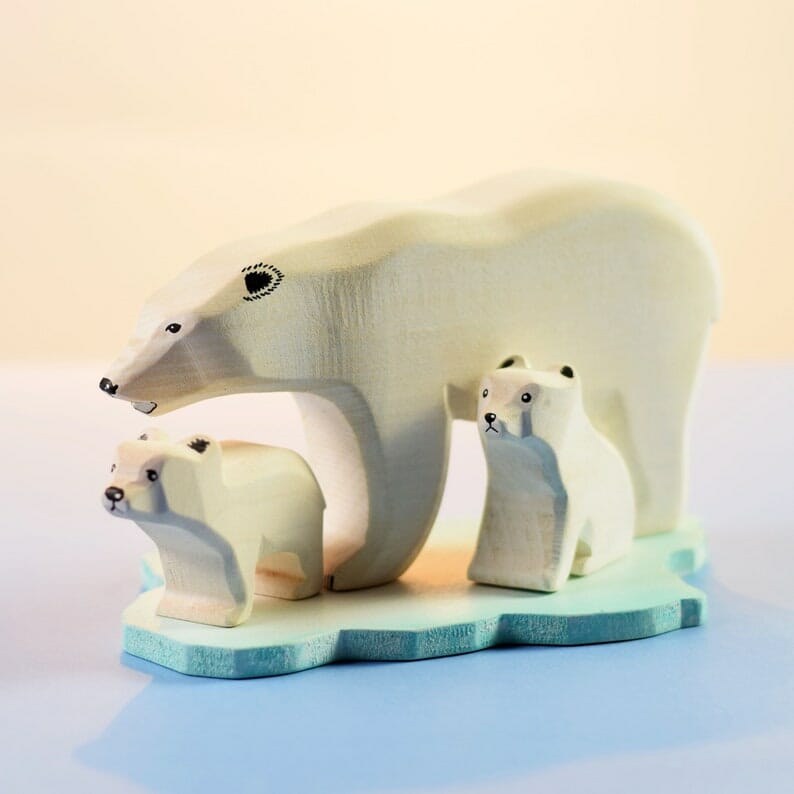
I have animal lovers here who have been loving our science curriculum work right now, it’s about animals around the world. This week we learned more about arctic animals and this science experiment is perfect for learning more about them and how they stay warm.
Arctic Animals Science
*This post contains affiliate links, see my disclosure policy for more information.*
What child isn’t wondering how arctic animals stay warm considering we make our kids wear layers of clothing in the winter and the animals just have fur.
We learned how they live in the cold, how they survive the freezing cold temperatures. Considering my oldest likes to sit down and watch animal documentaries, she loves what we are learning right now. These are some amazing live cameras you can check out to take a virtual field trip to the Arctic.
Right now in our BookShark Science curriculum, we are learning animals from the Usborne World of Animals book.
My kids know what cold is, we don’t shy away from going out in the cold Saskatchewan winters. But arctic cold is something completely different. This is just one of many great arctic animals science experiments.
Arctic Animals – Science Experiment
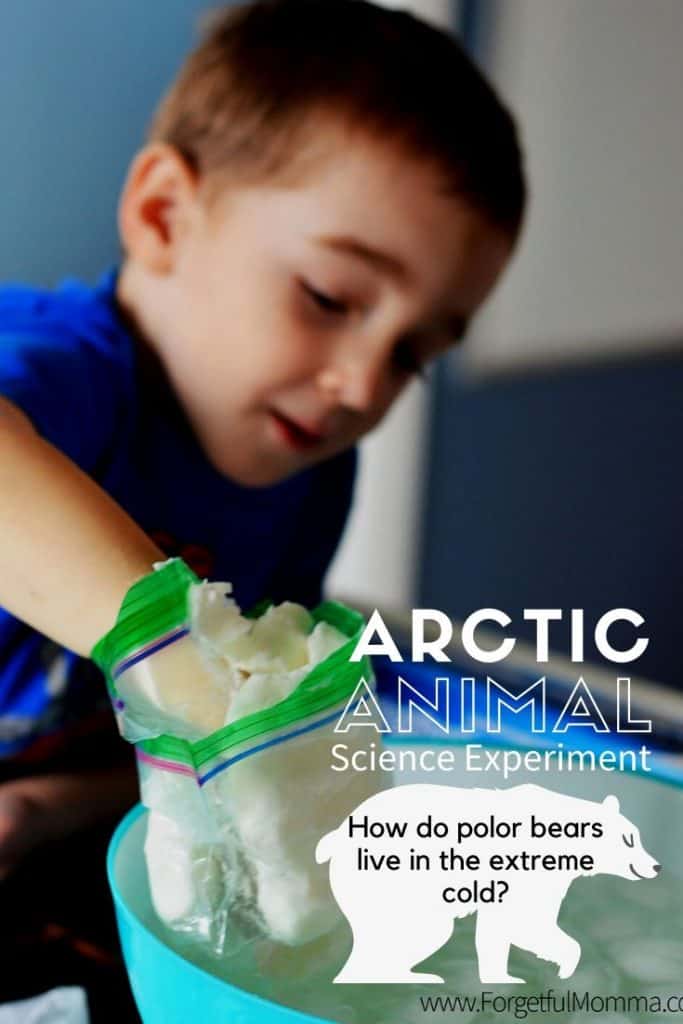
This is a great arctic animal for kids activity to demonstrate how penguins, polar bears, and other arctic animals stay warm with their layers of fat we grabbed a package of Crisco (vegetable shortening) from the store and did up a bowl of icy cold water.
What You Need:
- ice cubes
- cold water
- shortening
- baggies
- latex gloves – optional
What we did to learn how animals stay warm in icy water:
We put a large bowl of water into the freezer to let it get extra cold and then added the ice cubes.
We put a bare hand into the icy water first, just to get an idea of how cold the water really was.
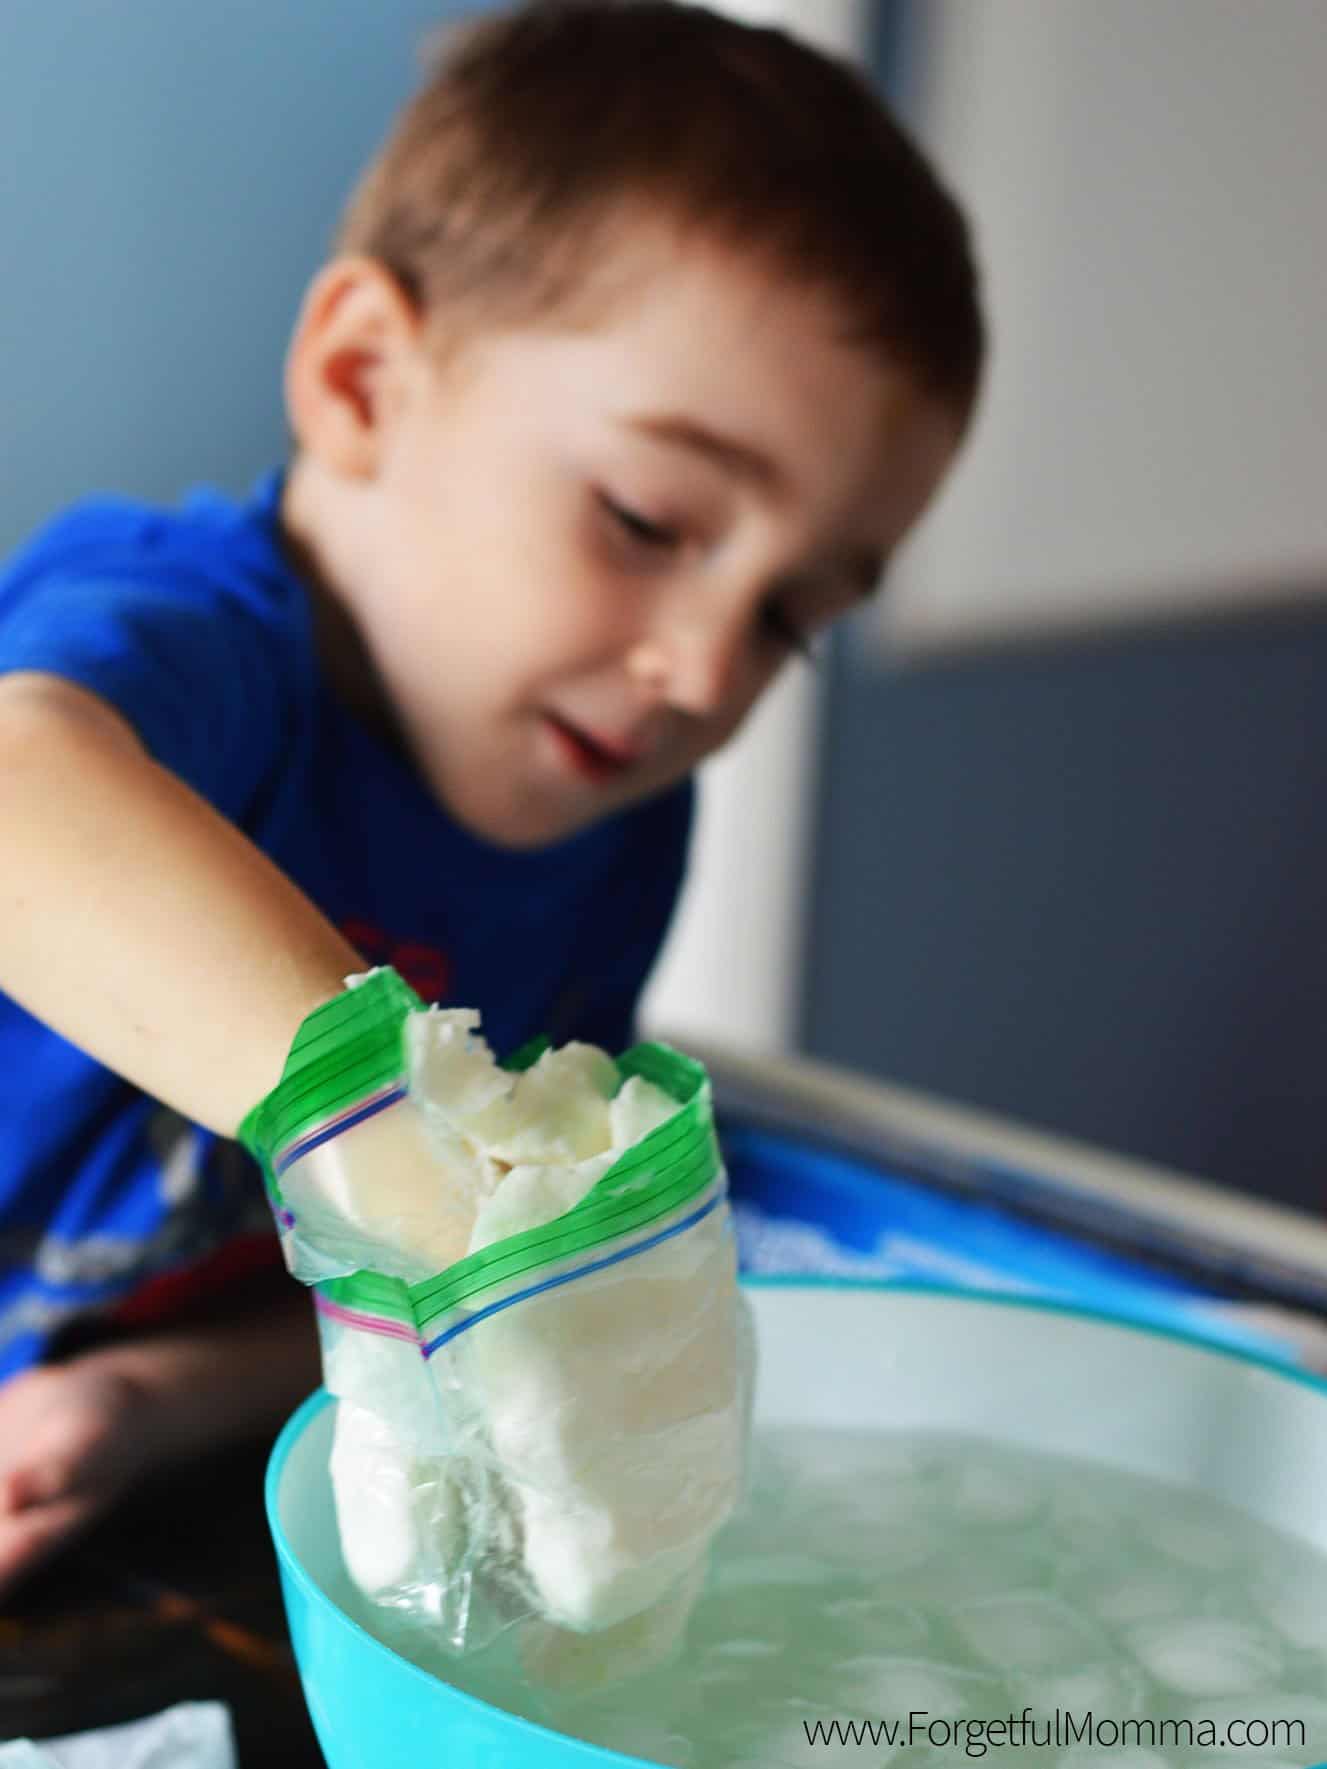
The original plan was to wear latex gloves, but I couldn’t find them locally, so we simply stuck our hands inside a Ziploc sandwich bag. A bar of shortening is wrapped around the hand, and then another sandwich bag on covering the shortening, to keep it from falling off in the bowl.
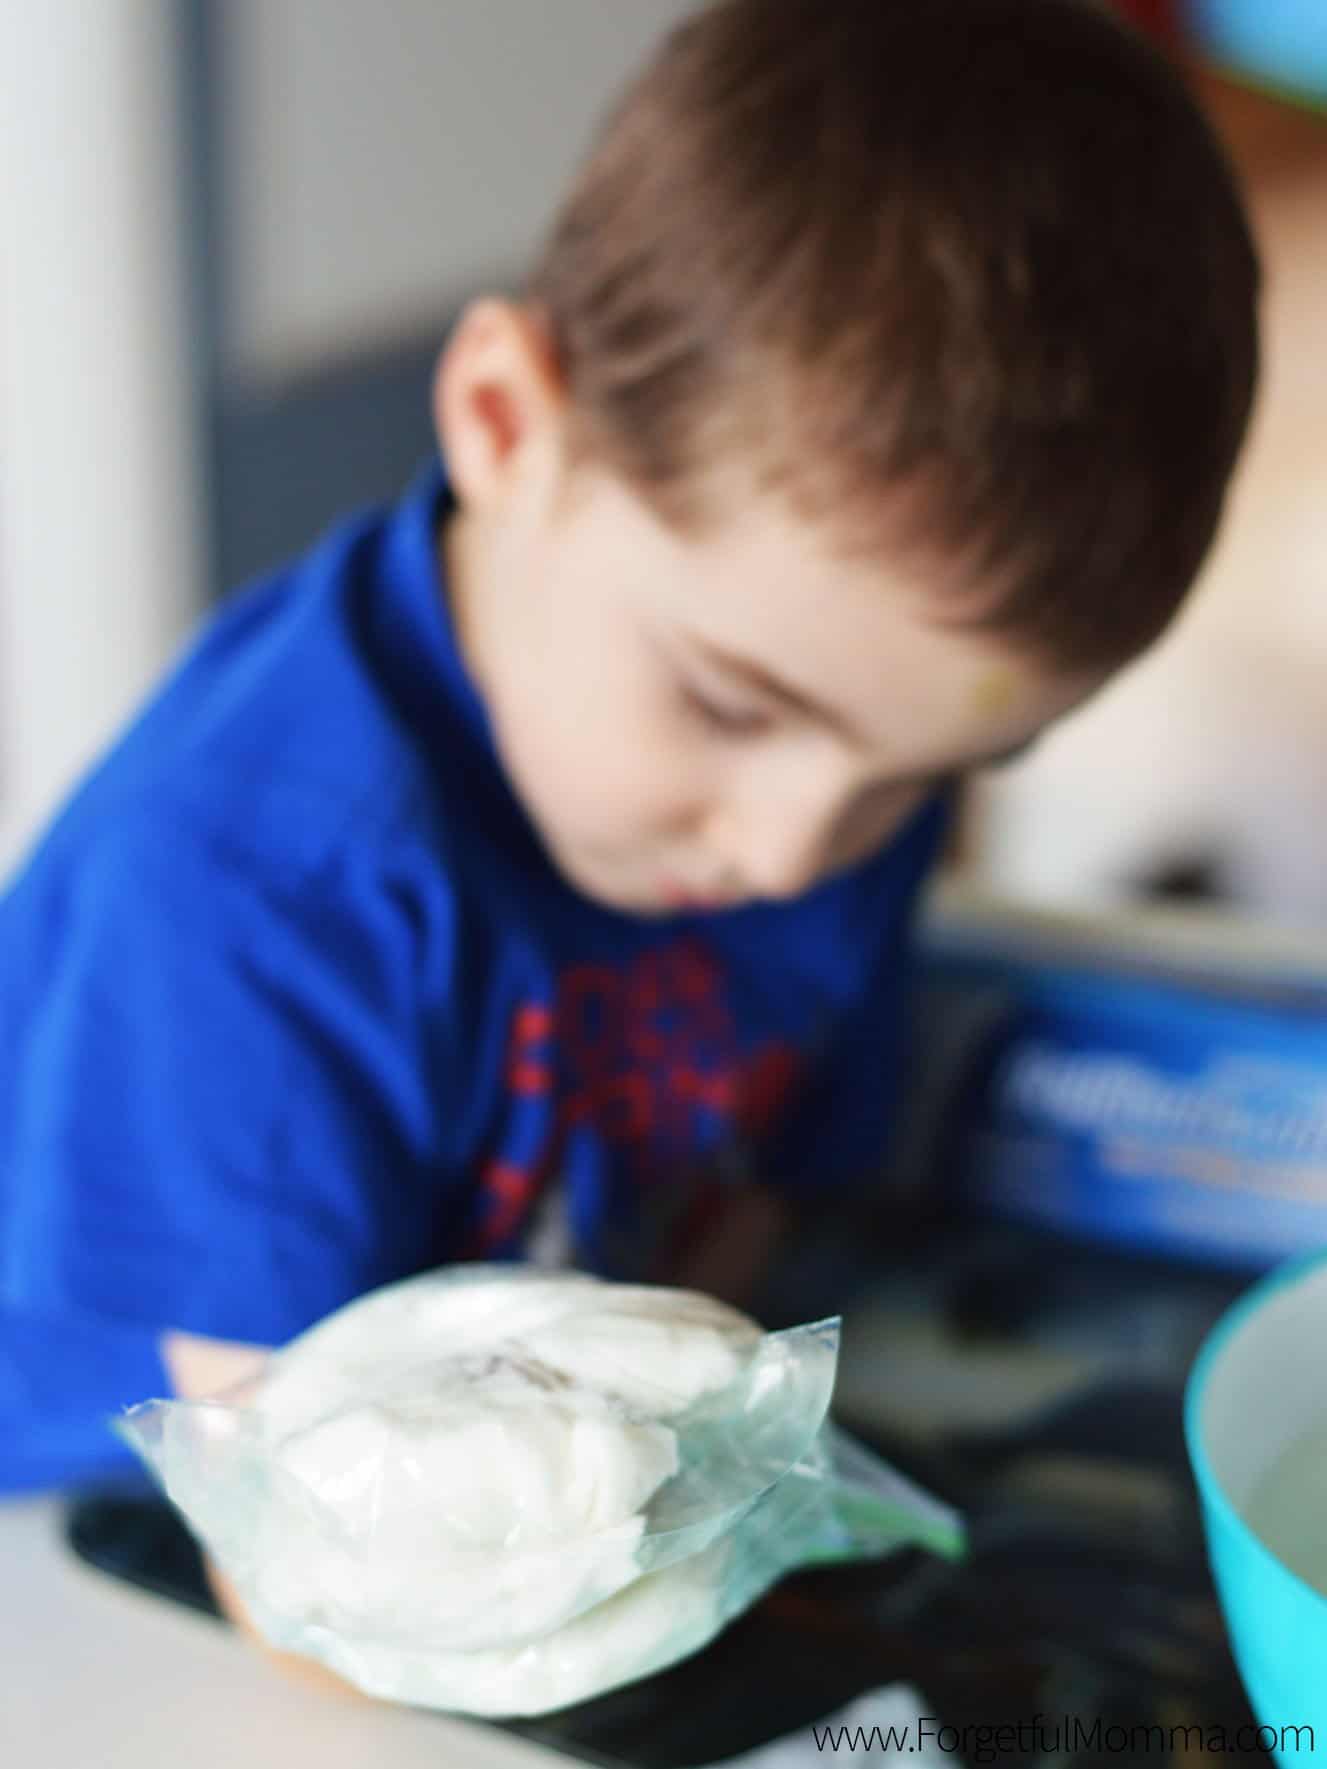
It looks crazy but worked out great. And best of all for this Momma, clean-up was basically non-existent because we just had to slip our hand out of the baggie and toss the whole thing in the garbage. A win-win for me.
I didn’t want to cover my bare hand with shortening, and Gauge isn’t a fan of getting dirty, which is what you would be if you covered your hand with shortening.
Kids’ thoughts on this Arctic animals science experiment:
Gauge did think I was crazy when I was covering his hand in shortening, in a bag. And then asked him to put his hand in the water, though he wanted to do it first.
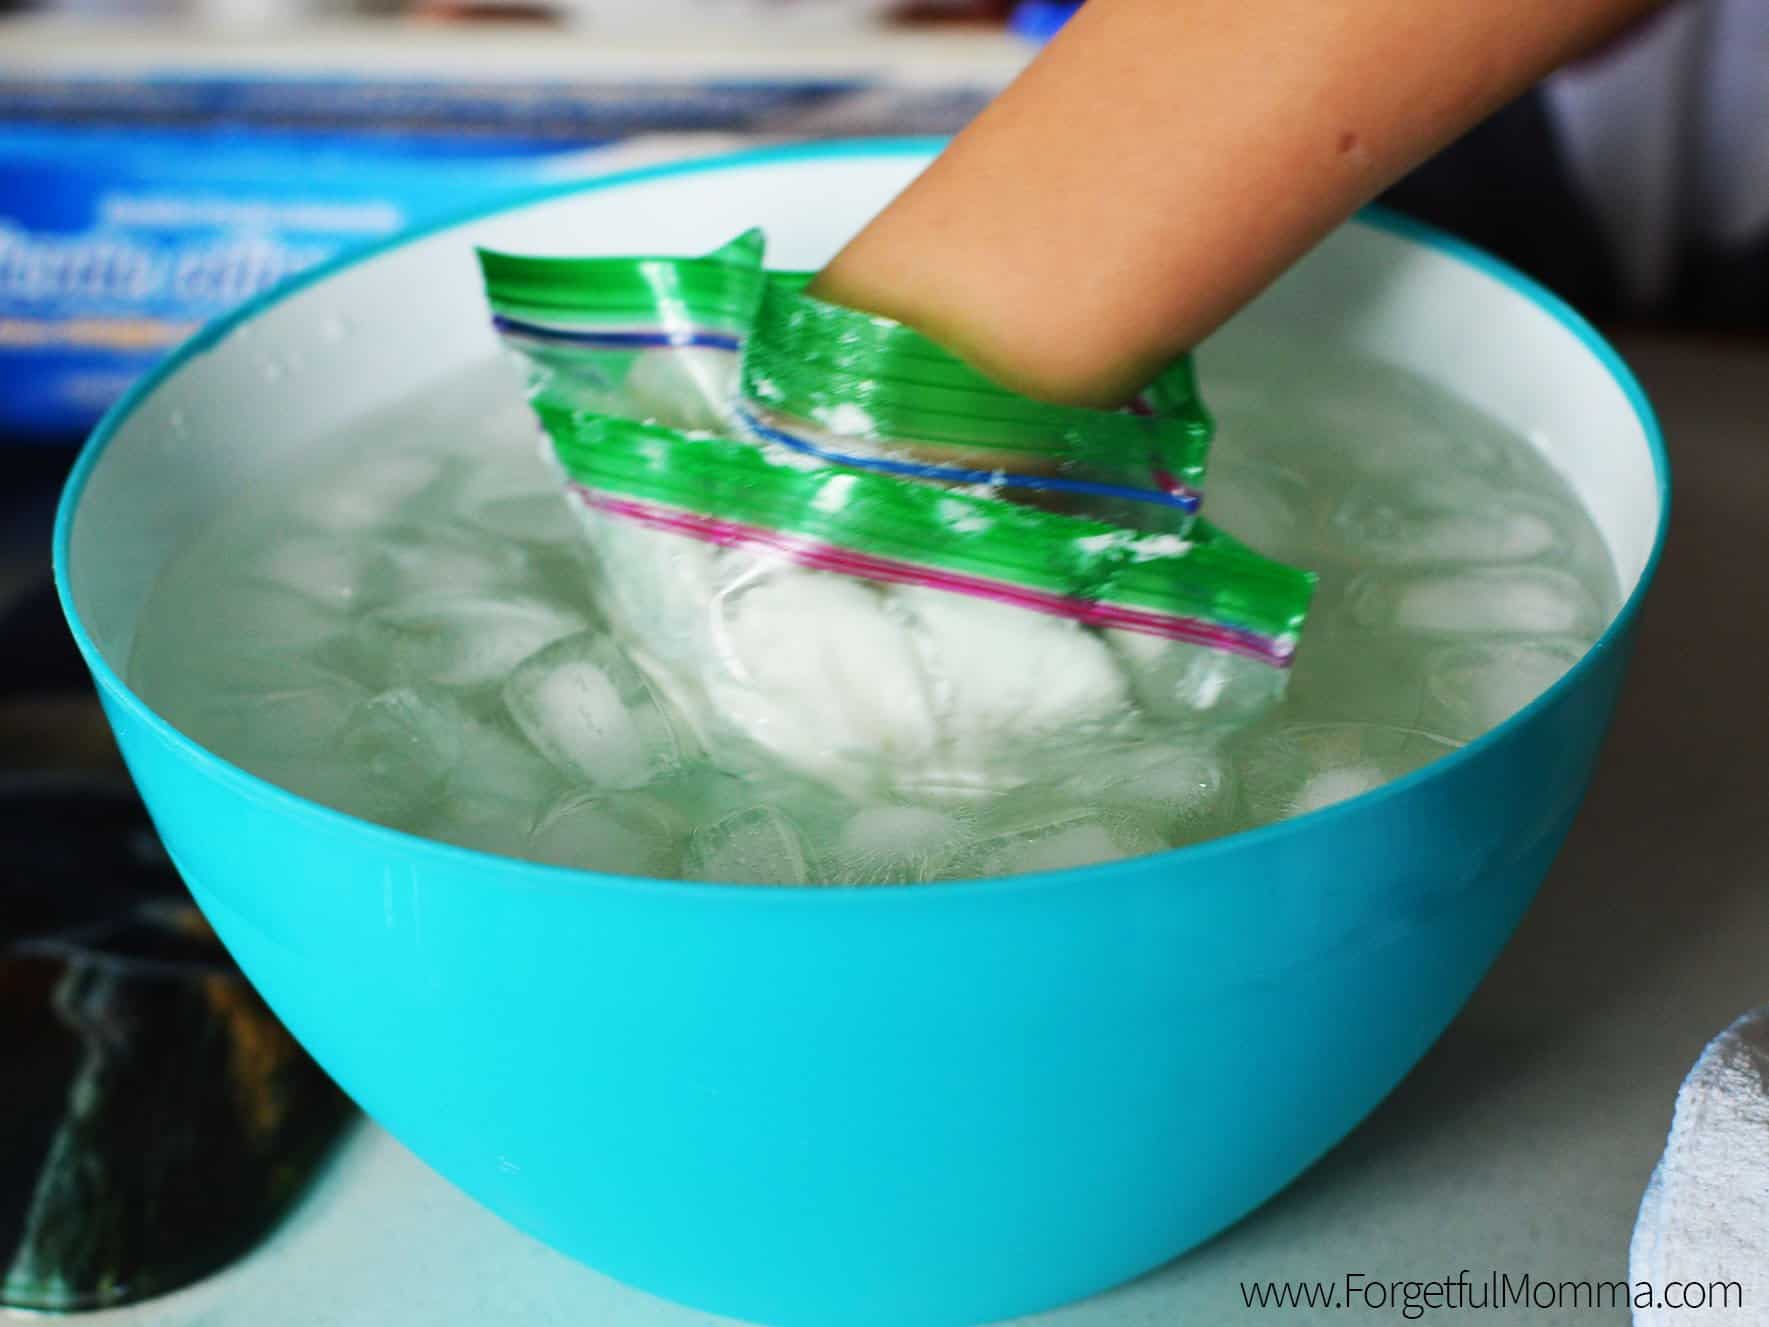
He loved it once he realized his hand wasn’t getting wet or cold. All three took turns doing this and said their hand stayed dry and warm.
This is a fun activity for kids. We did it in the middle of the winter, so it’s fresh in our minds just how cold it can be in the winter cold.
Learning About Animals in Your Homeschool
Learning About Animals in Your Homeschool
Learning About Animals – Animal Research
Animal Science Curriculum for Homeschool
Arctic Animals Science Experiment
This week we learned more about arctic animals in the Arctic and Antarctic. We are going to experience just how these animals stay warm.
Materials
- ice cubes
- cold water
- shortening
Tools
- baggies
- large bowl
Instructions
- We put a large bowl of water into the freezer to let it get extra cold, and then added the ice cubes.
- We put a bare hand into the icy water first, just to get an idea of how cold the water really was.
- The original plan was to wear latex gloves, but I couldn't find them locally, so we simply stuck our hand inside a Ziploc sandwich bag. A bar of shortening wrapped about the hand, and then another sandwich bag on covering the shortening, to keep it from falling off in the bowl.
Notes
Similar posts that you may be interested in:
Soil Testing Science for Gardening

